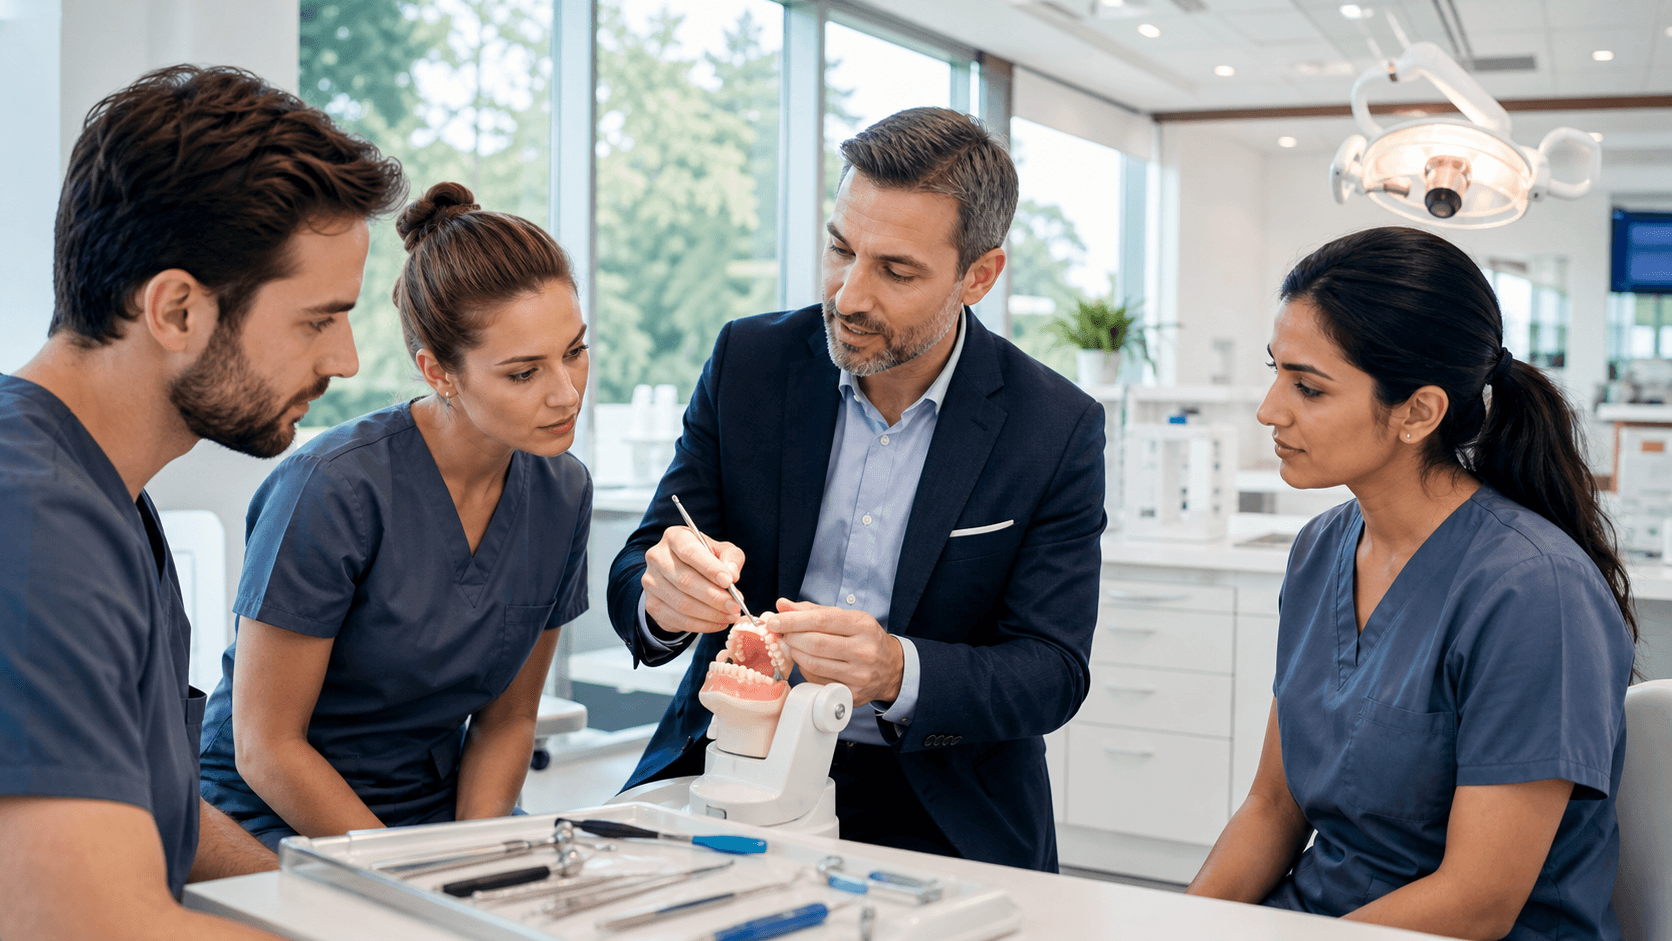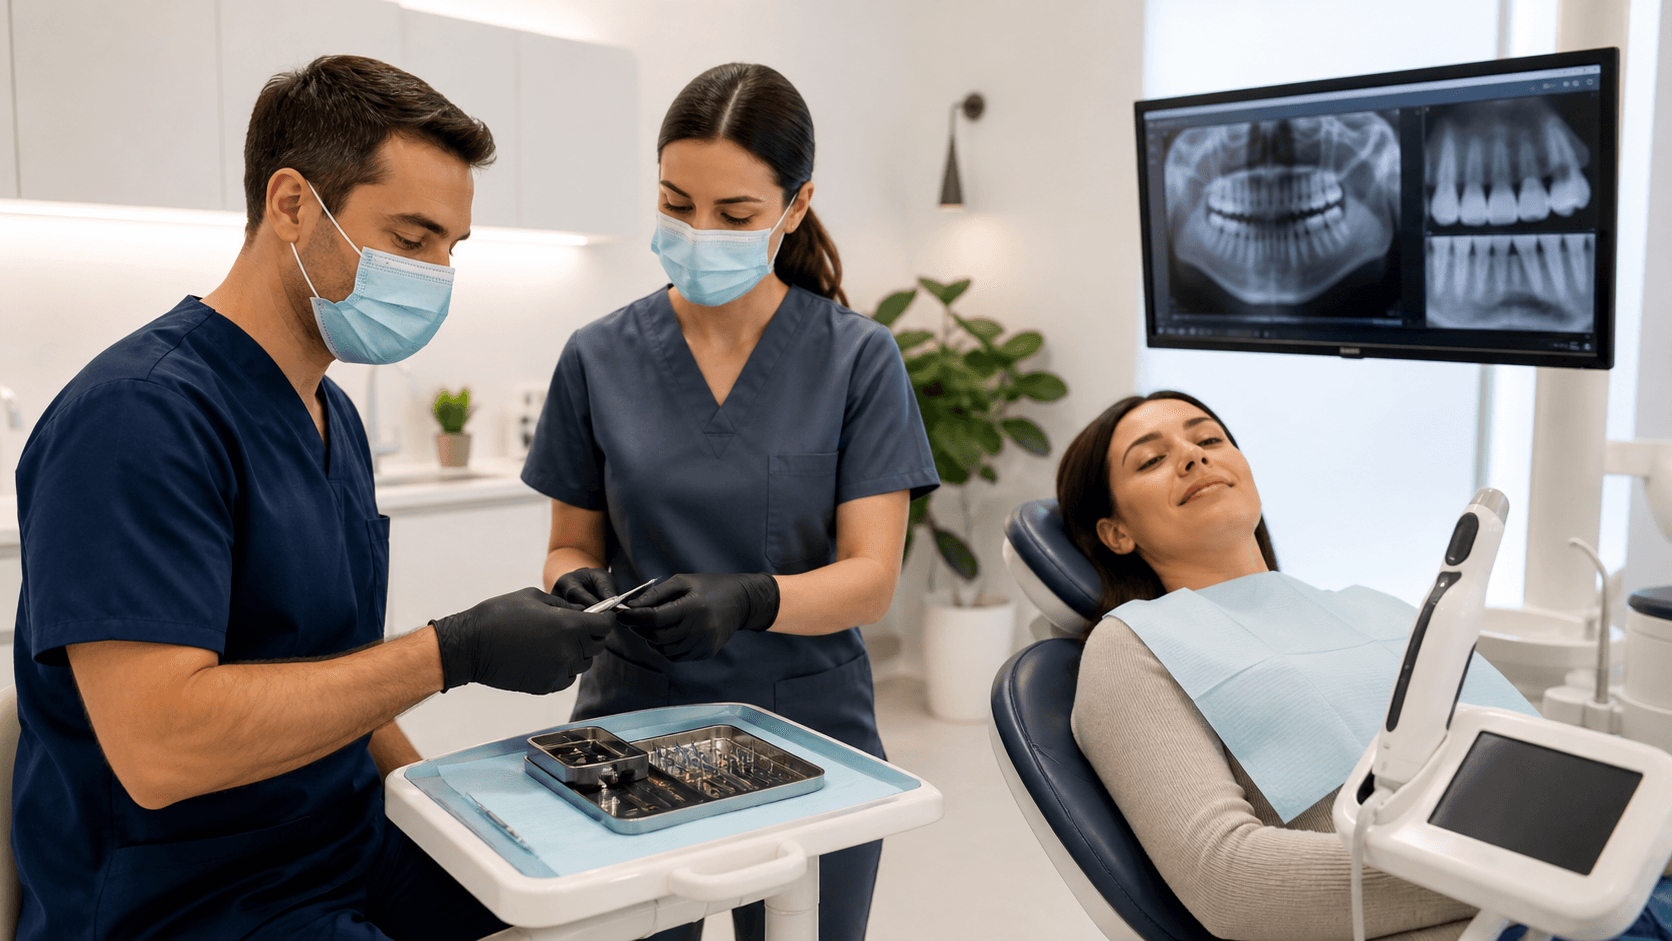
Fall CE weekends can do more than give us a few new tricks. They can reset how we practice every single day, especially as schedules fill up before the holidays and patients want fast, reliable answers. When we use those weekends with intention, we come back on Monday ready to make hygiene checks smoother, restorative visits more predictable, and case presentations easier to say yes to.
At Dentistry in General, we like to treat CE as fuel for everyday dentistry, not as a break from "real life." Below, we will walk through practical, chair-ready clinical tips for dentists who want CE weekends to show up in their next composite, crown, or cracked tooth exam, not just in a binder on a shelf.
Turn CE Weekends Into Everyday Clinical Wins
Fall has its own rhythm. Kids are back in school, schedules tighten, and patients often want to "get everything done" before year-end. That pressure can make clinical frustrations feel bigger: lingering sensitivity, tough second molars, contacts that are almost right but not quite.
Instead of seeing CE as something separate from that reality, we can:
- Treat each course as an upgrade pack for our daily diagnostic and restorative habits
- Look for one or two techniques we can plug in right away
- Plan ahead so we know exactly where those techniques will fit on Monday
When we do this, CE weekends stop being random events. They turn into a steady way to make our routine dentistry easier, faster, and more predictable.
Choose CE That Solves Your Daily Chairside Problems
Good CE starts long before we get on the plane or in the car. It starts with being honest about what bugs us chairside.
Take 15 to 20 minutes to review the last few weeks of your schedule and ask:
- Where do we run late over and over?
- Which procedures give us the most remakes, adjustments, or post-op calls?
- What do we quietly complain about to our assistants?
Common patterns might include:
- Sensitivity after posterior composites
- Open or food-trap contacts on Class IIs
- Difficult access or isolation on second molars
- Shade mismatch on anterior work
- Uncertainty about how far to clean out deep caries
Use those patterns to choose CE with clear, clinical aims, not just big names or nice locations:
- Specific procedure goals, like "predictable Class II contacts" or "less sensitivity in bonded posterior work"
- Detailed course agendas, showing time for hands-on work, not only lectures
- Focused themes, like bonding, ceramics, or modern caries management
Before you go, gather photos and notes on a few representative cases. Write your top five questions on a single sheet and keep it in front of you during the weekend so you do not miss the chance to ask.
Capture High-Value Clinical Nuggets in Real Time
Our memory is not as good as we think, especially when we are watching live demos, chatting with colleagues, and trying new materials. A simple "CE Playbook" keeps those nuggets from disappearing.
Set up a basic template with sections for:
- Materials and brands mentioned
- Burs, files, and instruments, plus when to use each
- Isolation and retraction options
- Step-by-step sequence
- Troubleshooting pearls and "what I do when this happens"
During sessions, focus on micro-details, like:
- Exact etch times for enamel and dentin
- Ideal curing distance and angle
- Recommended layer thickness for composite
- RPMs and pressure for finishing and polishing
- When to switch from one bur to another
If event rules allow, use your phone to take photos of:
- Whiteboard diagrams
- Tray setups
- Before-and-after slides, especially those that show margins, contacts, and occlusion
Label each photo right away with a short caption so you know later what you were trying to remember.
Turn New Techniques Into Monday-Ready Protocols
Back at the practice, resist the urge to change everything at once. Pick one new technique and turn it into a clear, one-page protocol you can actually follow in the operatory.
That single page might include:
- Pre-op assessment checkpoints
- Preferred anesthesia for that procedure
- Isolation method and backup plan
- Prep or access outline, including any "do not touch" zones
- Material choices and order of use
- Finishing and polishing steps
Schedule one or two lower-risk "test" cases each week where you can try the protocol without extra stress. For example, a straightforward Class II on a cooperative patient, or a single posterior onlay with plenty of tooth structure.
Bring your team into the process:
- Use a quick morning huddle to walk through tray changes and new steps
- Ask assistants what they notice about timing and patient comfort
- Invite hygienists to flag good candidates for your new protocols
When the whole team understands the "why" and "how," the new way quickly becomes the normal way.
Use CE Insights to Elevate Preventive and Restorative Care
The easiest place to apply new learning is actually in diagnostics. Small shifts in how we look at teeth can change treatment plans all day long.
Start by tightening up:
- Radiograph reading, especially early interproximal lesions
- Assessment of crack lines, bite sensitivity, and cold response
- Decisions between watch, preventive sealant, minimally invasive restoration, or full coverage
Then bring new bonding and restorative ideas into everyday work like:
- Class II composites with better contacts and fewer adjust-and-check cycles
- Small ceramic onlays that save more tooth and share load better
- Single-unit crowns with improved occlusion and less chairside adjustment
If your CE weekend touched on perio, airway, or occlusion, fold that into hygiene exams. Give patients simple, visual explanations of risk, timeframes, and possible phased treatment. This makes co-diagnosis smoother and helps patients feel like partners, not bystanders.
Make Clinical Upgrades Stick with Simple Systems
Good ideas fade without simple systems to hold them up. That is where your CE Playbook turns into everyday structure.
You can:
- Store protocols in a shared digital folder that everyone can pull up
- Print quick-reference sheets for the most-used new procedures to keep at each operatory
- Highlight small but important details, like curing times or specific polishing steps
Set two quick checkpoints for any big protocol change, around 30 and 90 days. Look at things like:
- Post-op sensitivity patterns
- Remake or repair frequency
- Extra chair time for adjustments
Use that feedback to adjust materials, isolation choices, or sequence. Keep it light and honest, not judgmental.
To keep everyone aligned, use short weekly calibration sessions, even just 5 to 10 minutes. Pick one protocol, review it, share any updates, and move on. Small, repeated touches beat one big meeting that nobody remembers.
When we treat CE weekends as fuel for these systems, we end the year feeling calmer, more confident, and better equipped to serve patients with care that feels both elevated and everyday. At Dentistry in General, that is the kind of autonomous, thriving practice we love helping dentists build.
Apply Proven Clinical Strategies In Your Practice Today
Bring the ideas from this article to life by exploring our curated clinical tips for dentists designed to strengthen real-world decision-making and patient outcomes. At Dentistry In General, we focus on practical, step-by-step guidance you can immediately implement in your operatory. If you have specific questions or want help choosing the right resources for your goals, contact us so we can support your next stage of growth.